Last summer I had a few plums sitting around and, since raw plums sometimes upset my stomach, I decided to bake them on a whim. They were so delicious I’ve spent this summer waiting for plums to go on sale, and last weekend fortune swung my way. I purchased six plums, let them ripen through the week, and turned them into a weekend pie. If you don’t have plums, you can make this recipe with other stone fruit such as peaches or nectarines. But do try it once with plums–they are delicious!
You Will Need:
- Fresh plums (5–6)
- 1/2 Lemon
- Sugar (about 1/4 cup–I used organic cane sugar for this pie, but I’ve used light brown sugar in the past when working with peaches)
- Vanilla extract (about 1/4 teaspoon–just a splash)
- Orange for zesting (buy organic if possible when using the rind for zest; replace the orange with 1/4 teaspoon cinnamon if using peaches or nectarines)
- Salt (about 1/4 teaspoon)
- Cornstarch (about 1/4 cup)–use all-purpose flour if no cornstarch
- Double pie crust (to make your own, see this post)
- Butter, for greasing pie pan
- [Optional] Cream
Note that this list of ingredients, as well as the list of necessary kitchen equipment, excludes ingredients for making the pie crust. Those lists are available in the pie crust post.
Large mixing bowl
Paring knife/cutting board
[Optional] Two large spoons from your silverware drawer, for tossing plums with seasonings1/4-cup and 1/4-teaspoon measures
Grater or zester
Rolling pin
9-inch pie pan
Fork from your silverware drawer
Aluminum foil
Oven/toaster oven
Oven mitt/potholder
[Optional] Basting brush, if using cream
Steps
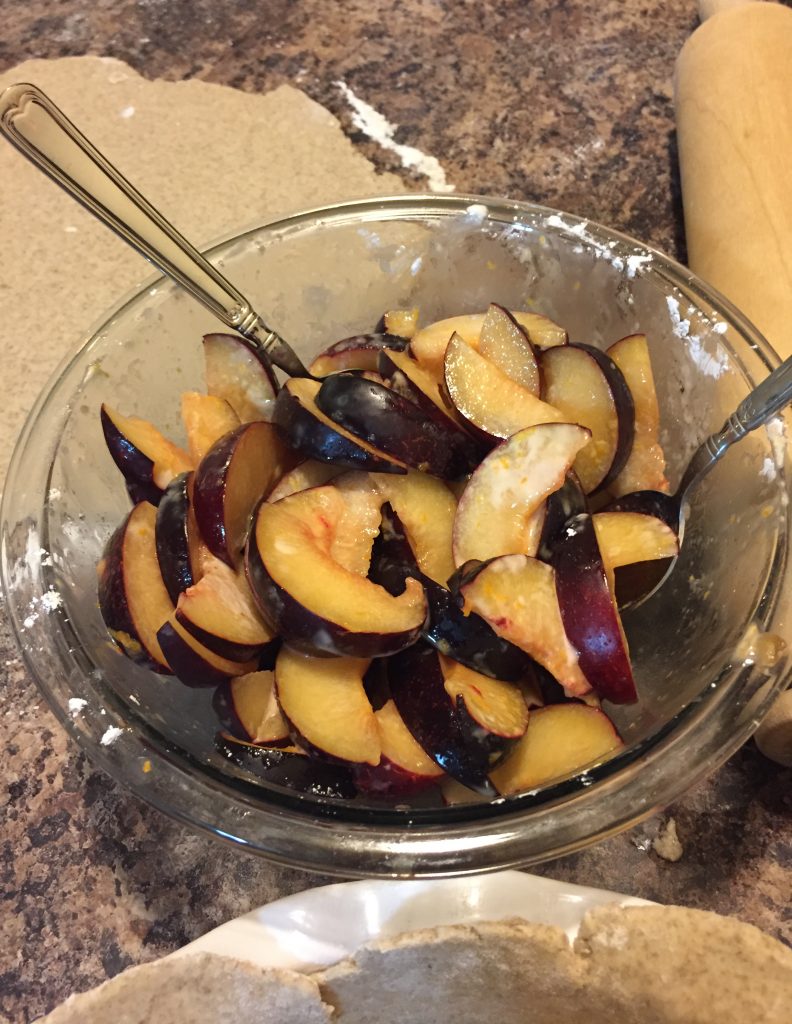
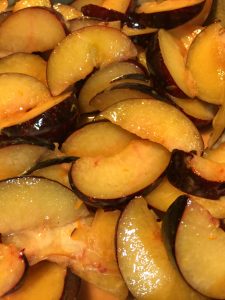
1. Wash and slice plums, placing the slices in a large bowl. Remove the pits, but it’s okay to leave the peel. Slice them thin. Taste one to find out how sweet they are.
2. Squeeze juice from 1/2 lemon over the plums. Use your hands to toss the plums with the lemon. Taste again.
3. Sprinkle sugar, vanilla, orange zest, and salt across the top of the plums. You need about 1 teaspoon of zest, roughly what you would get from half the orange. Toss everything together and taste again. Add extra sugar or lemon juice if the mixture seems too acidic or too sweet.
4. Sprinkle cornstarch across plums and toss until all ingredients are well-combined. The cornstarch is what keeps the filling from becoming runny. If you don’t have any, you can use all-purpose flour instead.
5. Let the plums sit undisturbed for 15-20 minutes while the oven preheats to 425ºF. This is a great time to make your crust if you plan to make it from scratch. The one I made here contains equal parts all-purpose and rye flour, but the rye flour makes it more dense so if you prefer a light and flaky crust, leave it out.
6. Once the oven has preheated, grease a 9-inch pie pan with butter.
7. Divide the crust into two equal portions and roll each to about 1/4 inch thick (you can do this one-at-a-time if your counter is only big enough for one crust). The crust will be more likely to roll into a circular shape if you shape it into a ball and then flatten the ball before rolling.
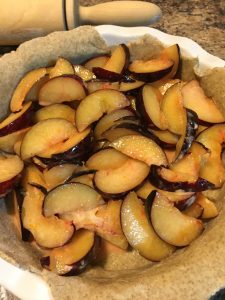
8. Drape the first of the two crusts across the pan. Guide the dough so it molds against the sides, using excess dough to patch any tears. It’s okay if your dough is not able to fully coat all sides of the pan. As long as it fully covers the bottom of the pan, you can use your second crust to make up the difference. (As you can see in my pictures, I had one side where the dough wasn’t abundant enough to drape out over the sides of the pan. This wasn’t an issue once I added the top crust.)
9. Pour the plum filling into the crust. Spread the plums around so they make an even layer. You can add juices from the bottom of the bowl if you like a juicier filling or leave them out if you’re afraid of having too much water.
10. Drape the top crust over the pie. Using your fingertips, press the dough around the sides of the pan, forming a seam between the top crust and bottom crust. This is the point where you should account for any spots where the lower crust didn’t reach the top of the pan. You need a complete seam all the way around because without it, juices will escape and the bottom crust will become soggy.
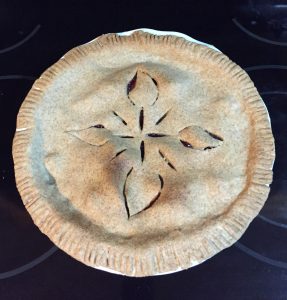
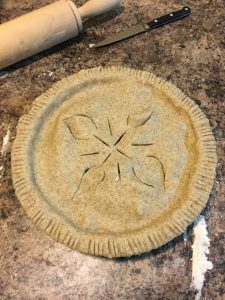
11. Seal the two crusts together by pressing down around the perimeter of the pie with a fork. This action also leaves pretty creases in your crust. Trim any excess.
12. Cut vent holes in the top of the pie. Those decorative patterns you see serve the practical purpose of allowing steam to escape while the pie bakes.
13. [Optional] Brush the top of the pie with cream for a more golden crust and sprinkle with extra sugar, if you like. (I was out of cream, so I skipped this step.)
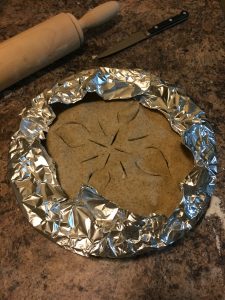
14. Use foil to shield the edges of the pie. This shield prevents the crust from burning while the filling cooks. You can remove the foil for the last 5–10 minutes of baking.
15. Bake at 425ºF for roughly 15 minutes, then lower the temperature to 400ºF. Remove from the oven when the crust is golden and you see juices bubbling out of the vents. This process will take anywhere from 40–60 minutes. Let cool completely before serving, or else the filling will run when you slice into it. (As you can see, I couldn’t wait an entire hour!)
Pies are my favorite dessert and the one I make the most often. Make a few between now and November and impress your relatives for Thanksgiving!