Making broth intimidated me until I watched my husband do it one Thanksgiving with our leftovers. The process was dead simple: throw leftover bones into crock pot with water and apple cider vinegar; cook on low for a long time; and voilà: homemade broth.* Goodbye, store-bought stock that goes bad in my fridge and costs $3 per box. I’ve spelled out the process a little more extensively below, but with all the feasting we do in November, this is a technique you’ll want to try out. Coming soon: the basic formula for soup.
[At a Minimum] You Will Need:
- Beef or chicken bones (you can either get these from something else you’ve cooked or buy them at an organic grocery store–you will get more flavor and minerals if you use more bones, but even one marrow bone will make a nice stock)
- Water
- [Optional but recommended] Apple cider vinegar
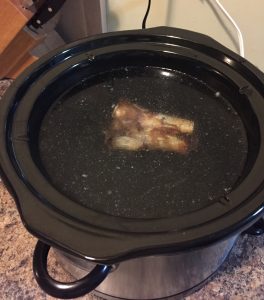
- Crock pot (or large stock pot, preferably with lid, and one available burner on your stove)
- Ladle
- Fine-mesh strainer (more important with chicken bones than beef)
- Large storage container for refrigerating finished stock
- [Optional] Pyrex liquid measuring cup
- [Optional] Oven/toaster oven, ovenproof pan, oven mitt, and olive oil for browning beef bones
- [Optional] Additional plastic storage bags or containers, if not using stock right away
Steps
1. [Optional] If making beef stock, preheat oven to 425 F. Place the beef bone(s) into the pan and drizzle with a small amount of olive oil. Cook until browned and fragrant, roughly 20 or 30 minutes.
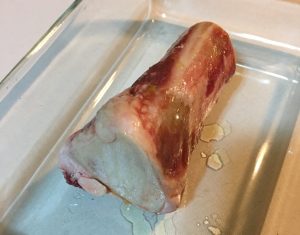
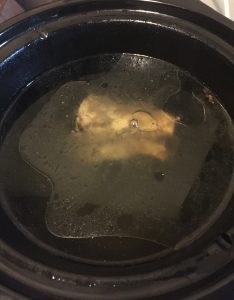
2. Place bones (with any juices, if you’ve been browning them, and without juices, if dealing with raw chicken bones) into the pot and cover with water. The amount of water you use is roughly equivalent to the amount of stock you’ll get, so plan accordingly.
3. [Optional] Pour in several good swigs of apple cider vinegar, if using, probably just shy of 1/4 cup if you’re making several cups’ worth of stock. The vinegar will help to draw the minerals out of the bones.
4. If using a slow cooker, set it to low and leave it alone for a long time, up to 24 hours for chicken and even longer for beef. You are looking for the point at which the marrow and meat literally falls off of the bone and the water has turned a rich gold (chicken) or bronze (beef).
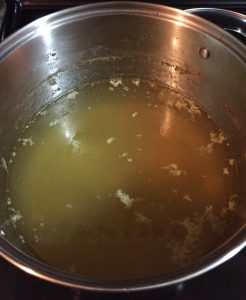
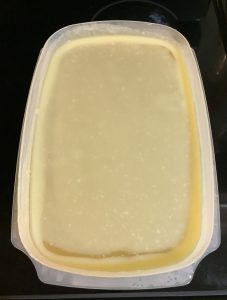
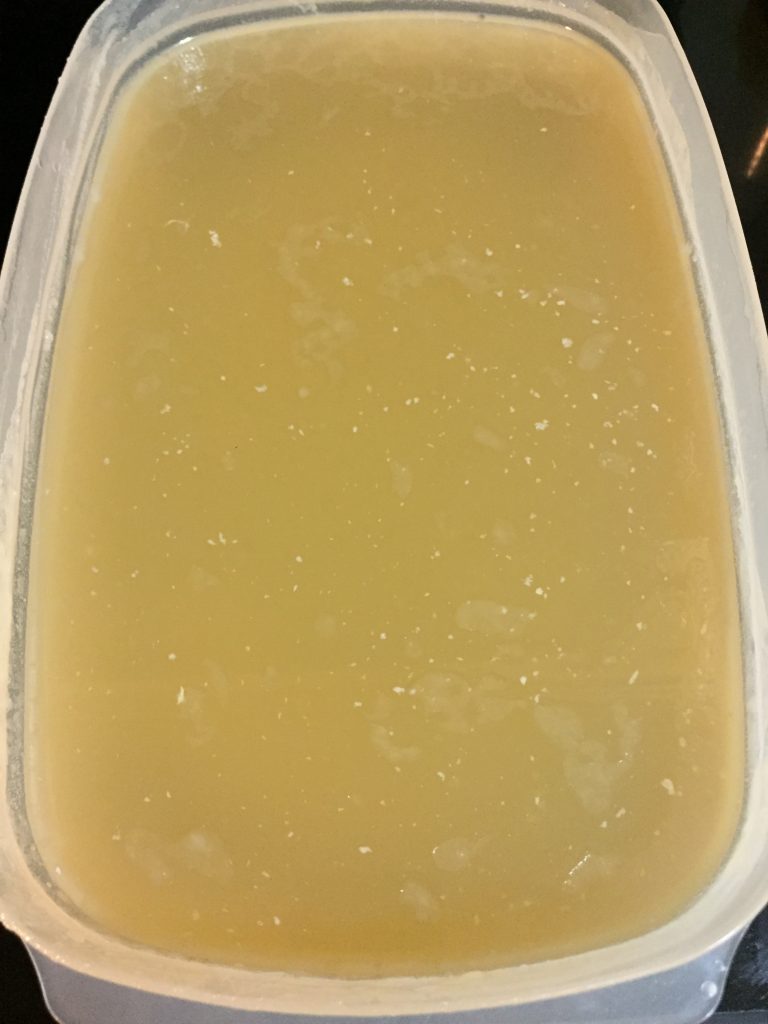
5. If using a stock pot, bring the water to a boil, cover, and reduce heat to low (setting 2 or 3 on most stovetop dials). Let simmer for a long time, probably overnight. (The picture below shows chicken stock that has simmered overnight.)
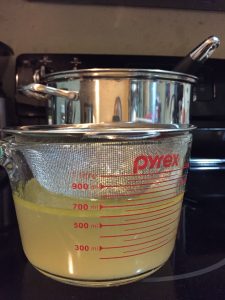
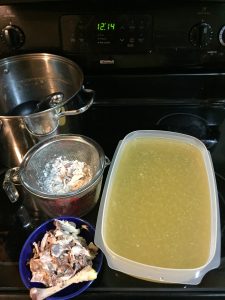
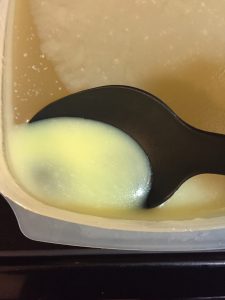
6. When the stock is done, strain it and transfer to your storage container. As you can see in the photos, I prefer to place my fine-mesh strainer on top of a liquid measure and ladle the stock into the sieve. When the Pyrex is mostly full, I’ll pour the strained stock into my storage container and then repeat the process until all the stock is strained.
7. Refrigerate the stock.
8. Once the stock is cold, any excess fat will have risen to the surface. Remove this layer and discard. Use the finished stock for soups or rice, or separate into plastic bags and freeze for up to three months.
* Note that broth is different than stock. Stock also includes flavor components such as onion, vegetables, and herbs.
Important Notice About November Blog Posts:
November is National Novel Writing Month (NaNoWriMo). Since I write fiction when not working on Ditch The Ramen, I’ll be limiting my posts this month to Thursdays only in order to devote extra time to the piece I’m creating in conjunction with the NaNoWriMo challenge. Thanks for your understanding. ?