Where would our holidays be without cookies? If you are one of those people who bakes forty-five batches of cookies each Christmas, participates in one of those crazy cookie swap parties, or has kids leaving sweets out for Santa, give these a shot. They contain nuts, so they won’t work if you’re likely to encounter someone with an allergy. But even my husband, who makes fun of me for loving vanilla and almonds (“the most boring flavor of ice cream topped with the most boring kind of nut”) admits that these are worth eating.* This recipe was my mother’s, which she copied out at some point and which I inherited. I’m not sure where she obtained the original, so I will beg the pardon of anyone who is able to trace these to a cookbook. If you find a cookbook that contains them, buy it, because if the other recipes are equally great, you’ll be a very happy cook.
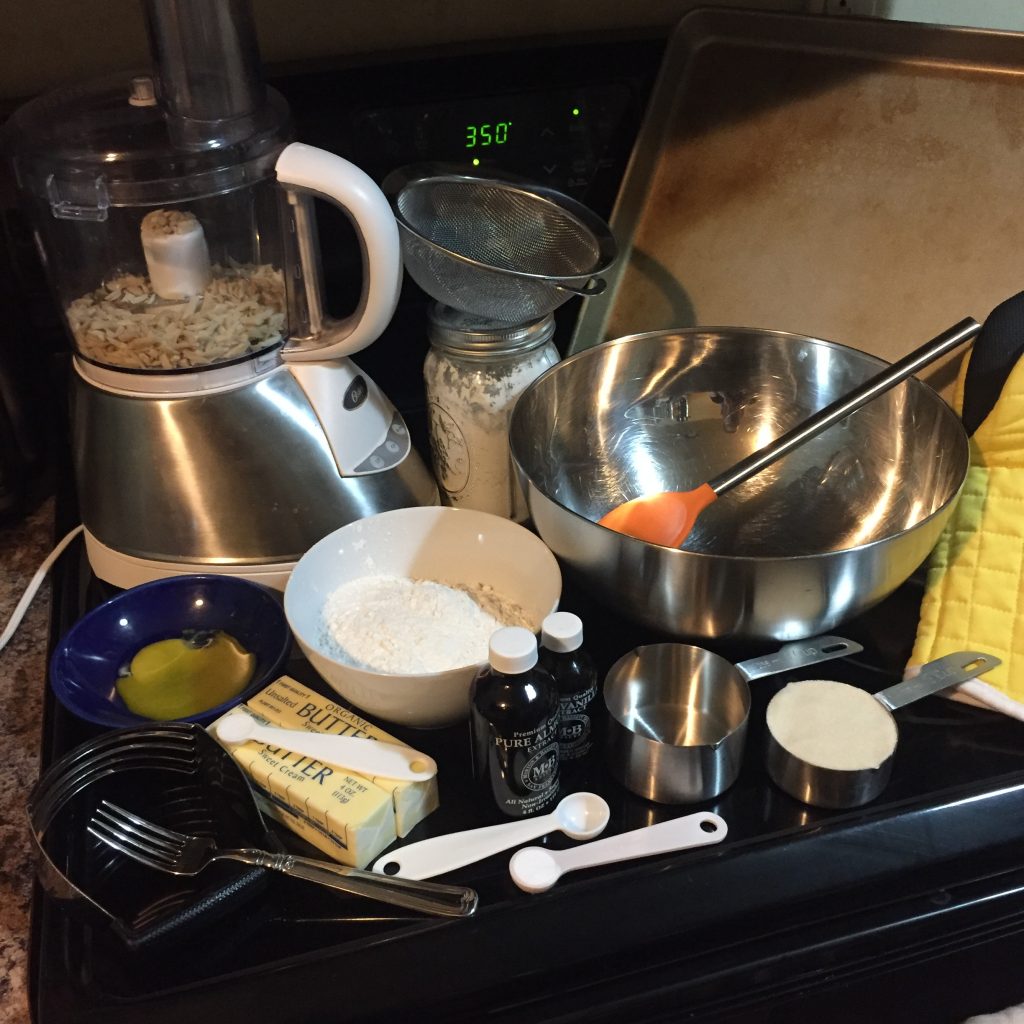
You’ll probably have to go to the store before making these cookies, unless you keep almond extract on hand, but once you have what you need they’re a snap. I’ve listed the necessary kitchen equipment as a bullet-point list instead of the usual expanding menu because the equipment makes so much of a difference.
You Will Need:
- Almonds, without the skins (1 cup), or possibly almond meal if you don’t own a food processor (see below)
- Yolk of one egg, separated from the whites (see step 2 if unsure how to do this)
- Cake flour (2 cups, use all-purpose if no cake flour)
- Baking soda (1/2 teaspoon)
- Butter (1 cup, which is two sticks in most cases)
- Sugar (1/2 cup)
- Salt (1/4 teaspoon)
- Almond extract (1 1/2 teaspoons)
- Vanilla extract (1 teaspoon)
- Powdered sugar for dusting (sold as confectioner’s sugar)
Necessary Kitchen Equipment:
- Oven (you can use a toaster oven if no oven)
- Food processor to grind almonds: this recipe calls for almonds ground into flour. I personally think this is because you mainly need need the flour, but leaving a few chunks of almonds lend a wonderful texture to the dish. If you don’t have a food processor, you can substitute pre-ground almond meal with a few chopped almonds for good measure. You could also experiment with a mortar and pestle, a small blender, or a lot of chopping with a cutting board and a sharp knife.
- Small bowl for holding egg yolk
- Large mixing bowl
- Fine-mesh strainer or sifter (you really need one here, for the powdered sugar at the end)
- Measuring cups and spoons (1-cup, 1/2 cup, 1-teaspoon, 1/2 teaspoon, and 1/4-teaspoon measures)
- Mixing spoon
- [Optional] Pastry blender (if you don’t know what this is, see picture following step 4, below)
- Fork from your silverware drawer
- Large nonstick cookie sheet or baking tray
- Oven mitt
- [Optional but ideal, not shown above] Wire cooling rack (use paper towels if no cooling rack)
- [Optional but ideal, not shown above] Non-metal spatula for removing cookies from tray (if no spatula, get creative and try not to burn your fingers)
Steps
1. Preheat oven to 350º and take the butter out of the fridge. Let the butter sit on the counter (not on the preheating stove!) while you gather your other materials, so that it will have a chance to soften.
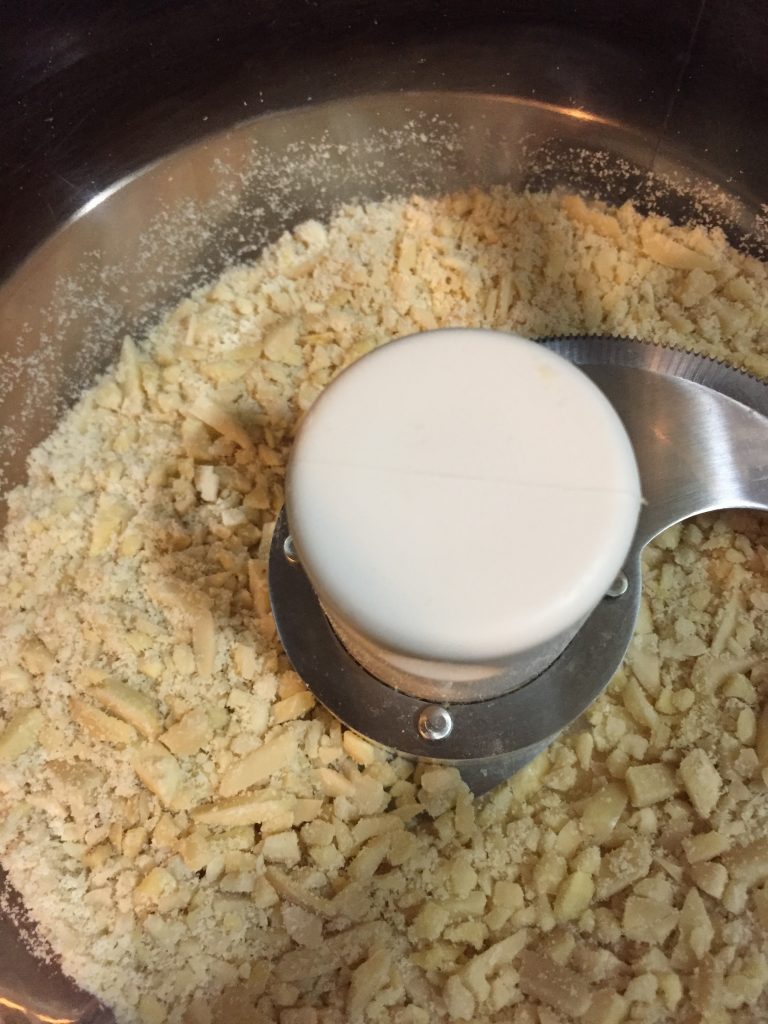
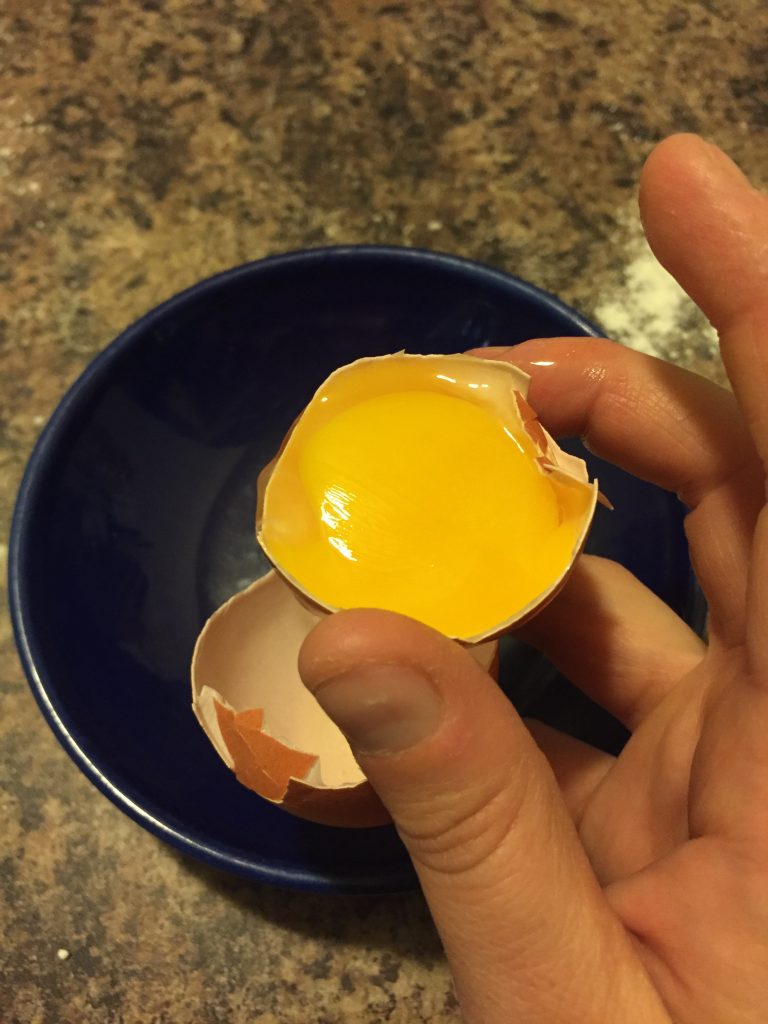
2. Grind your almonds and separate your egg yolk before you begin combining ingredients. Using a food processor, pulse the almonds until they are more flour than nut, but leave some chunks in the mix if you want some texture in your cookies. You can see in the picture below how my almonds looked just before I added them to the dough. I’ve also included a picture of what I consider to be a less messy way to separate an egg from the whites, which involves breaking the egg open and then transferring the yolk back and forth between the two halves of the shell, cupping the yolk in the shell but letting the excess whites run into the sink/a bowl/a hot frying pan where you’re making an egg-white scramble.
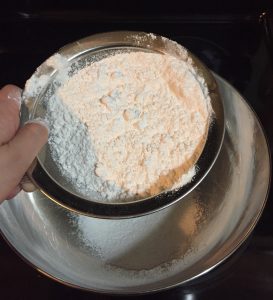
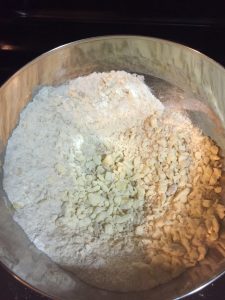
3. Sift flour and baking soda into a large mixing bowl. Sifting the flour removes any lumps and makes your cookies very tender. Stir a few times with a spoon if you are concerned that the baking soda might not be evenly distributed, but don’t go crazy or you’ll start to counteract the benefit of the sifting. (Note: if you plan to do any cleanup while your cookies are baking, do not wash the sifter! You will need it for the powdered sugar at the end and you won’t want any trace of water still clinging to the mesh.)
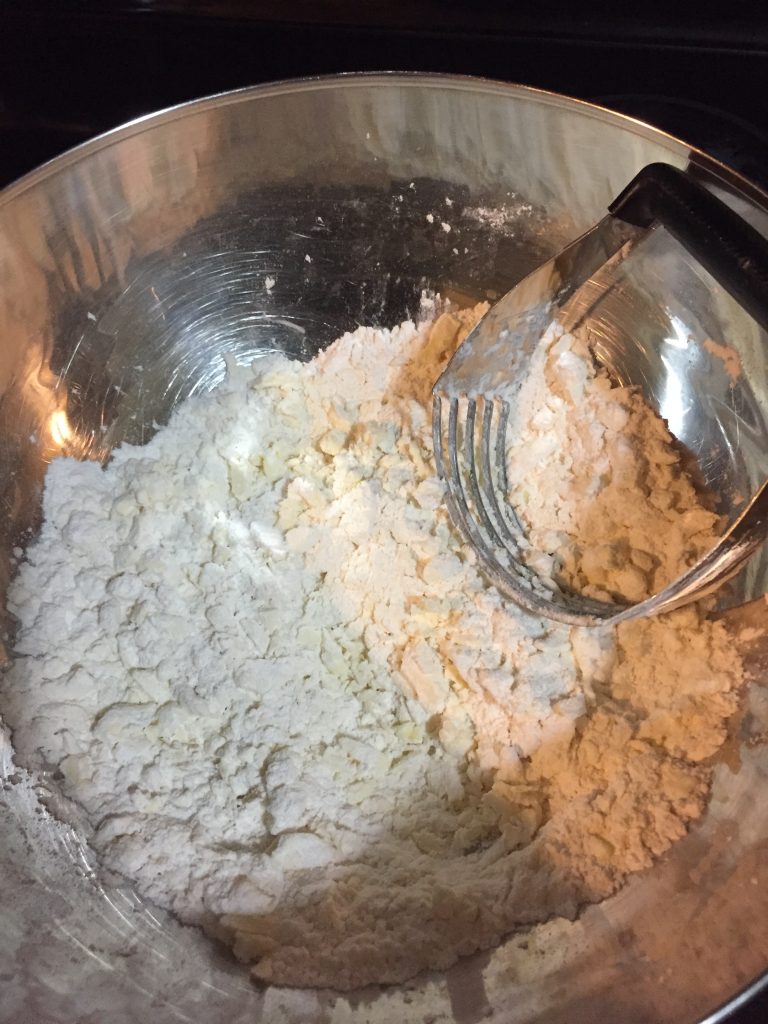
4. Add the butter and chop at it with a pastry blender or fork until all of the butter is coated in flour and the largest pieces are the size of peas. You aren’t going for uniform distribution of butter, because the larger chunks will create a melt-in-your-mouth effect later. The picture below shows the way my dough looked when I stopped blending.
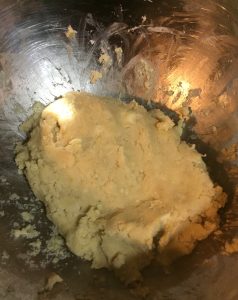
5. Add the egg yolk, sugar, salt, vanilla and almond extracts, and nuts. Stir with a spoon until the ingredients are more or less mixed together (see picture).
6. At this point, you may be tempted to add water to help bring the dough together, as if you were making a pie crust. Don’t do this! Instead, use your hands to further combine the ingredients, smooshing and kneading in the bowl until you have a smooth, sugary mass that actually resembles cookie dough.
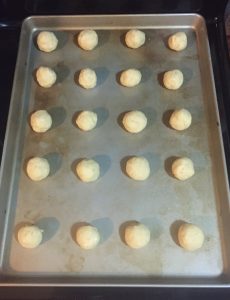
7. Roll the dough between your palms to form 1-inch round balls. Place on an ungreased cookie sheet, leaving some space between the individual portions (do two batches if they won’t all fit). I must make my cookies larger than normal, because my mother’s recipe supposedly yields four dozen cookies and I always end up with somewhere around twenty.
8. Do not eat the raw cookie dough, because it contains raw egg. Consuming raw eggs can pose a risk of bacterial infection.**
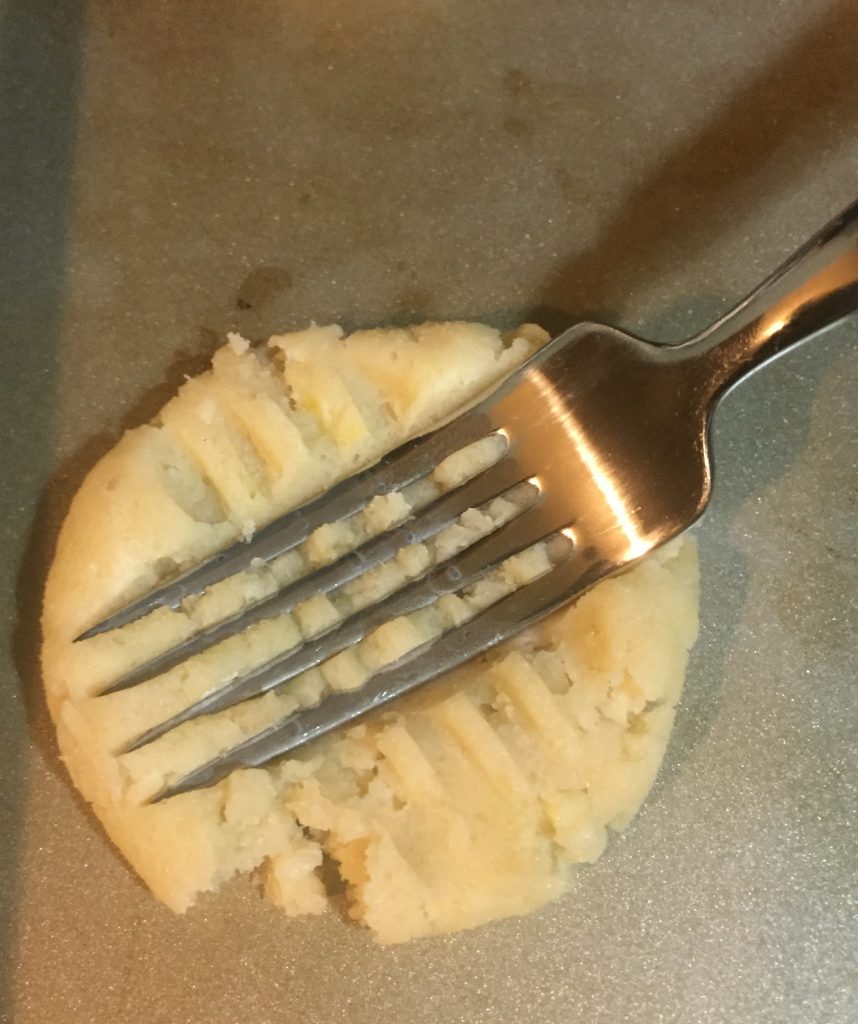
9. Using a fork, press down on each ball of dough in a criss-cross pattern. The dough should smoosh out from under the fork and the middle of each cookie should be full of ridges. This process helps the cookies bake evenly but also (and more importantly) provides little nooks and crannies for powdered sugar.
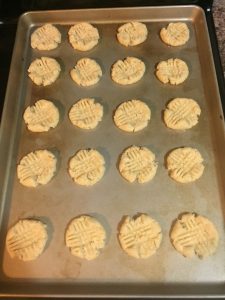
10. Bake in the oven until the cookies are golden. I usually start smelling the cookies right around the time they are done, about 10–15 minutes depending on the tendency of your oven. Remove cookies from the oven as soon as you can see brown around the bottom edges (any longer and they’ll burn!).

11. [Optional but ideal:] Using a spatula, transfer cookies to a wire cooling rack. Cooling on a rack allows air flow around all sides of the cookies and helps them to crisp. If you don’t have a rack, use paper towels instead so they are no longer in contact with the hot metal baking tray.
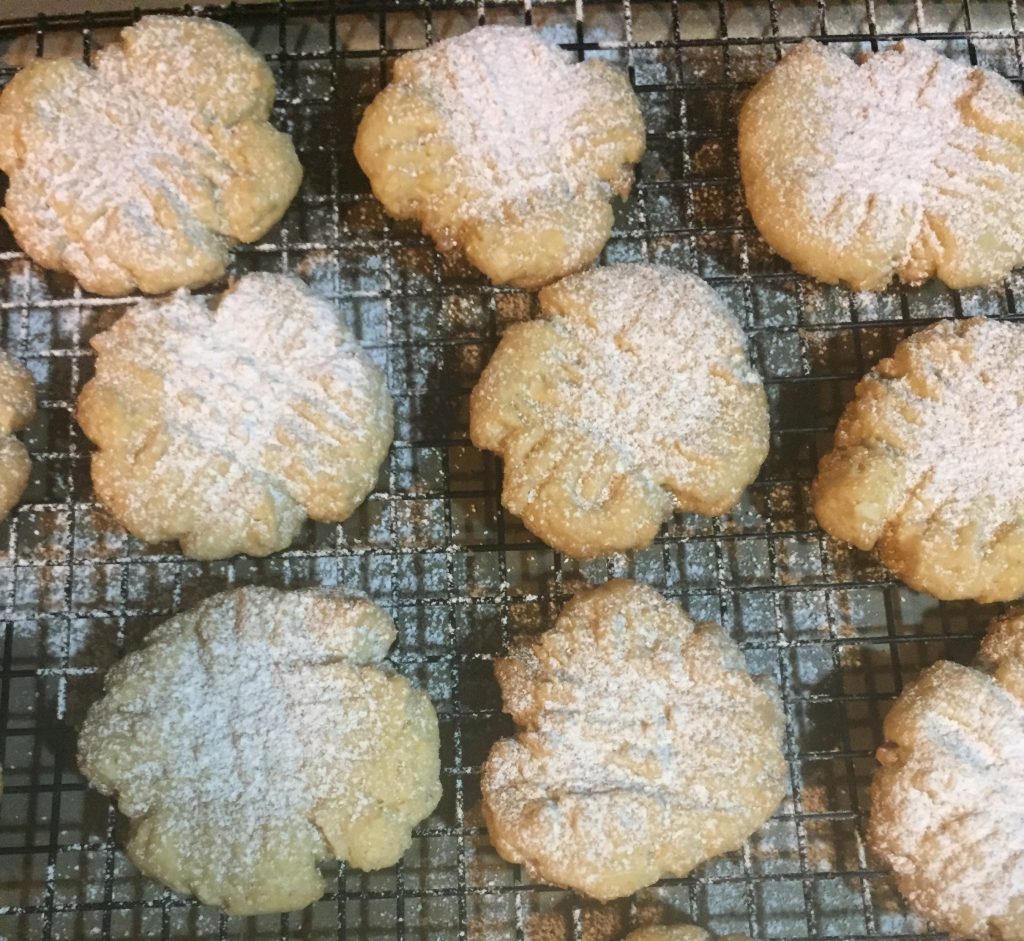
12. As soon as you have transferred them to cool, use your sifter to dust the cookies with powdered sugar. If you are cooling the cookies on a rack, you can minimize the amount of mess by placing the rack over the baking sheet you just used in the oven, so that excess sugar falls on the baking sheet instead of all over your kitchen.
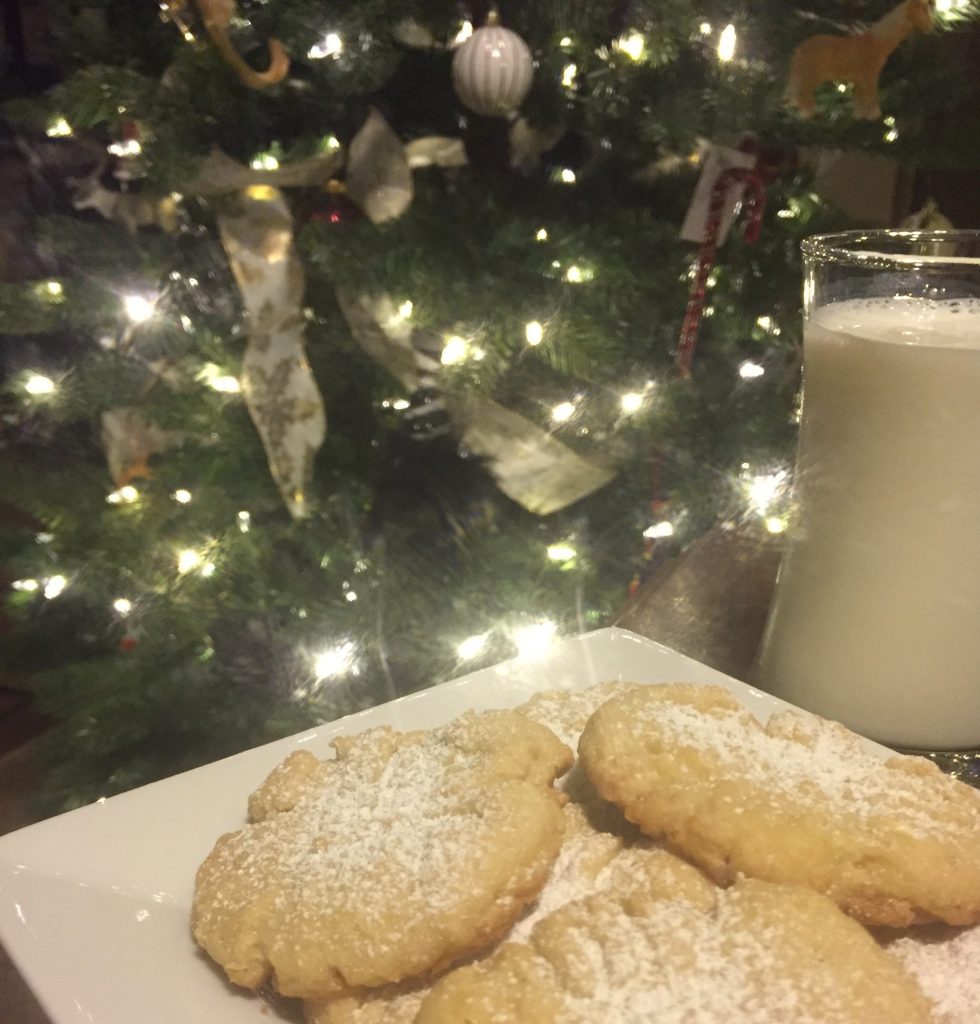
As the name implies, these cookies are perfect with tea, but they are also great with milk or eggnog for Santa.
* I believe my husband’s exact words, after I left him alone for the weekend with a freshly-made batch, were, “Those cookies are evil.”
** I would have probably ended up with twenty-one cookies in this batch except I ate a lot of raw cookie dough. It was delicious.