![]()
Two summers ago, I had the brilliant idea to drive, accompanied by seven college students, from Indiana to Los Angeles. This venture turned into a seventeen-day road trip incorporating thirteen states and, to my fiancé’s intense dismay, a dozen different homemade soups. Realizing that soups could be frozen, stored in an ice chest, and reheated in a microwave, I had determined that they would be the perfect road trip solution for penny-pinching undergraduates and one food-conscious professor. As my now-husband and I attempted to prepare the soups in a kitchen that was entirely too small, contained only half the necessary freezer space, and was possessed of a blender whose blades were about as efficient as a picnic knife, I learned two things: (1) if you normally live nine hours apart from your fiancé and haven’t seen him in weeks, do not waste your time preparing soups for a trip on which he will not be going; and (2) soup recipes all look seriously complicated but follow the same basic pattern.
Today’s post is intended to be used in conjunction with a recipe. Unlike other basic formula posts, this is not a case where you want to wing it on your first attempt. (I know this because I test-drove that idea and ended up with a soup that tasted like pizza sauce.) So find yourself a cookbook, thaw some of the homemade broth that you might have made earlier this month, and use the information here to help you make sense of the twenty-seven ingredients that are probably looming at you from the sidebar. Each of those ingredients fits into one of the categories represented in the Basic Formula for Soup. If you can organize everything by category before you start, your soup will come together like magic.
But before we get there, let’s talk math. What is the answer to the following equation?
2 x 13 + 5 = ?
If you’re coming up with 31, congratulations! You remember a mathematical concept called order of operations, which specifies a hierarchy among mathematical processes and reminds you, in this case, that you should multiply two by thirteen before you add five. (If you forgot about the order of operations, you probably wound up with 36.) The basic formula for soup operates in much the same way. Soup-making is less about what goes into the soup than about the order in which you add those components. Here’s the formula itself:
Basic Formula
Oil + [Optional] Meat + Mirepoix + Spices + Bulk + Broth + Simmering Time + Garnish = Soup
Soups work best if you prep your vegetables, measure your spices, and sort through your lentils before you start cooking. That said, let’s break things down:
Basic Formula Explained
1. We begin by putting oil (usually olive oil) in the pan because anything else will burn and stick to the bottom, lending a terrible flavor to the soup, if the oil doesn’t go in first to coat it.
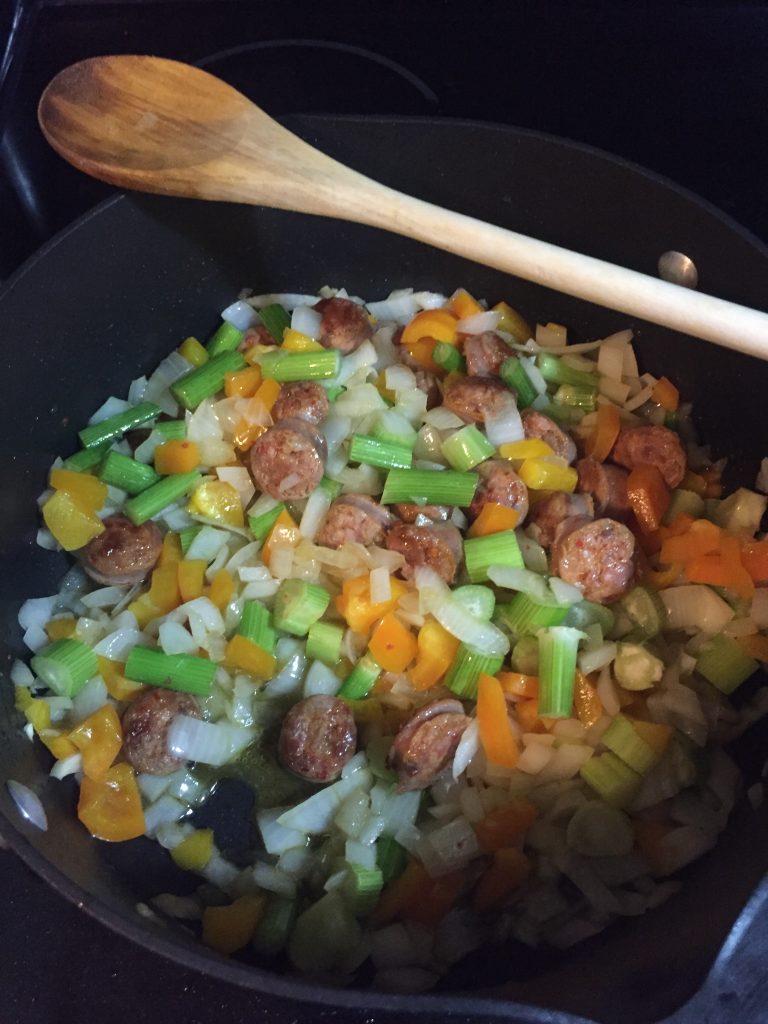
2. If the soup calls for meat, we add it next so it can brown in the oil. Browning lends flavor to the meat, so it’s an important step. You also want to brown the meat before adding anything else so that other components can fry in the fat from the meat. Exception: if your soup calls for seafood, you will most likely be adding it later. Seafood takes almost no time to cook.
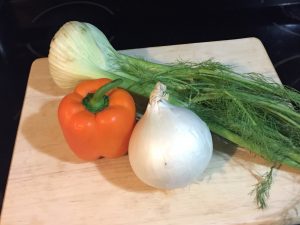
3. Mirepoix is a French term for the components that flavor the base of a soup. A classic mirepoix consists of died celery, carrots, and onions, in about a 1:1:2 ratio. This formula varies across regions and across soups. For example, bell peppers comprise a critical component of the mirepoix for New Orleans gumbo. I use my own combination of fennel, bell pepper, and onion, because both celery and carrots have been known to upset my stomach. Usually, the mirepoix needs to cook until the vegetables are soft and the onions translucent. This is also the point at which you should add salt.
Important: if you’re using this post as a step-by-step guide to help you follow a recipe, measure out ALL remaining ingredients except garnish before proceeding!
4. Spices include any ingredients that give your soup its particular flavor profile, as well as minced ginger or garlic, which might burn if added at the same time as the mirepoix.* Generally, you only stir these items with the mirepoix for a minute or two before adding the next set of ingredients. This is why you want everything ready.
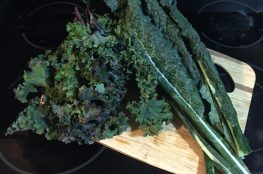
5. Next we add the ingredients that will comprise the bulk of the soup: chopped vegetables, dried lentils, canned beans or tomatoes. Add these ingredients dry-to-wet, stirring as you add them, so that you can coat items like lentils or potatoes in your spice mix before drenching them in canned components like tomatoes.
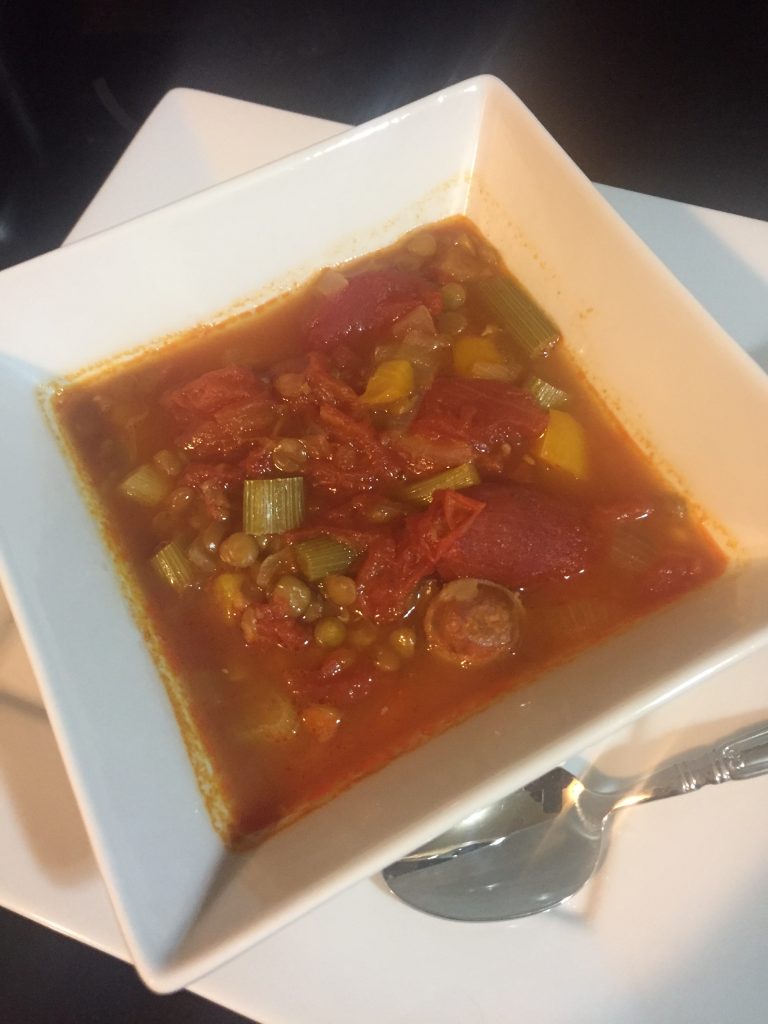
6. Add broth to the soup at the end. We do this last because after that point it’s impossible to infuse individual carrot slices or chicken cubes with a coating of flavor. In most cases, you will now bring the soup to a boil and then reduce the heat so that it is bubbling gently, but cream-based recipes may call for a modification of this process so that the cream doesn’t break. (In many cases, however, you won’t add the cream until the very end.)
7. The soup will simmer for a long time before you add any finishing touches. This span not only allows things to soften and fully cook, it also allows flavors to develop with more complexity. Recipes for creamed soup will call for you to transfer the soup to a blender (or use an immersion blender) at the end of this time. Be forewarned: if you’re using an everyday kitchen blender, you need to vent the lid slightly and hold it in place with a very sturdy oven mitt. The blending process will cause steam to escape from the soup, and the soup can splash out of the blender and burn you if you aren’t expecting it.
8. Garnishes add that extra snap of flavor or texture just before serving that makes the soup shine. These can include croutons, sour cream, lemon juice, toasted garlic, fresh herbs, grated cheese, or even poached egg. When you freeze or refrigerate a soup, omit these elements.
Most soups, as you may have gathered from the intro, will freeze and reheat well. Make a big batch and you’ll have the perfect solution for those cold winter nights when you don’t want to cook.
* Some recipes actually do call for the garlic/ginger to be added with the rest of the mirepoix, especially when there aren’t other spices to add later. Consult your recipe and use your common sense. If you are working with itty bitty garlic slices and giant hunks of onion, either mince the onion or (easier) hold off on the garlic.
Important Notice About November Blog Posts:
Thank you to everyone for your patience in the month of November as I have been limiting posts on Ditch The Ramen in order to participate in National Novel Writing Month. Starting on Sunday, I’ll be back to my usual Thursday/Sunday posting schedule, and will be reviewing two cookbooks that you may want to add to your holiday wish lists. Happy cooking!